Reading Chord Charts
Guitar chord diagrams or charts are important to understand as they give you a quick way of learning new chords and finger positions. Once you learn how to read guitar chord diagrams, you’ll be able to start learning countless chord-based songs.
The chart below shows all of the notes for Open C tuning.

In this guide, I will show you:
- Pointers on how to read guitar chord diagrams
- Tips to help you understand some odd chord diagrams
By the end of this visual guide to chord diagrams, you’ll know everything you need to about One Finger Method chord diagrams.
How to Read a Guitar Chord Chart
- The vertical lines represent the guitar strings
- The horizontal lines represent the frets with the top line representing the guitar nut
- The black dots represent where you place your fingers
- The numbers tell you which fingers to use
- An ‘O’ tells you to play a string and an ‘X’ tells you to not play a string
- Barre chord charts tell you which fret to put your finger on
- One Finger Method annotations dispense with chord charts, tablature and classical musical annotations and acronyms.
Let's get started!
This is a sample chord diagram / chart:

Let’s go through the five points to understand how we should play a chord diagram like this one.
1. Vertical Lines
The first point is the vertical lines. The vertical lines represent the strings on your guitar.
The far-left line represents the thickest string on your guitar (low E) and the far-right line represents the thinnest string on your guitar (high E).
Here is an image labeling the strings on a blank chord chart:

In the previous two guitar chord diagrams, it’s showing you your guitar from a heads up point of view. Sometimes the charts are sideways, as in 90 degrees counterclockwise from the last two images orientations. All the same attributes will still apply in either style.
2. Horizontal Lines
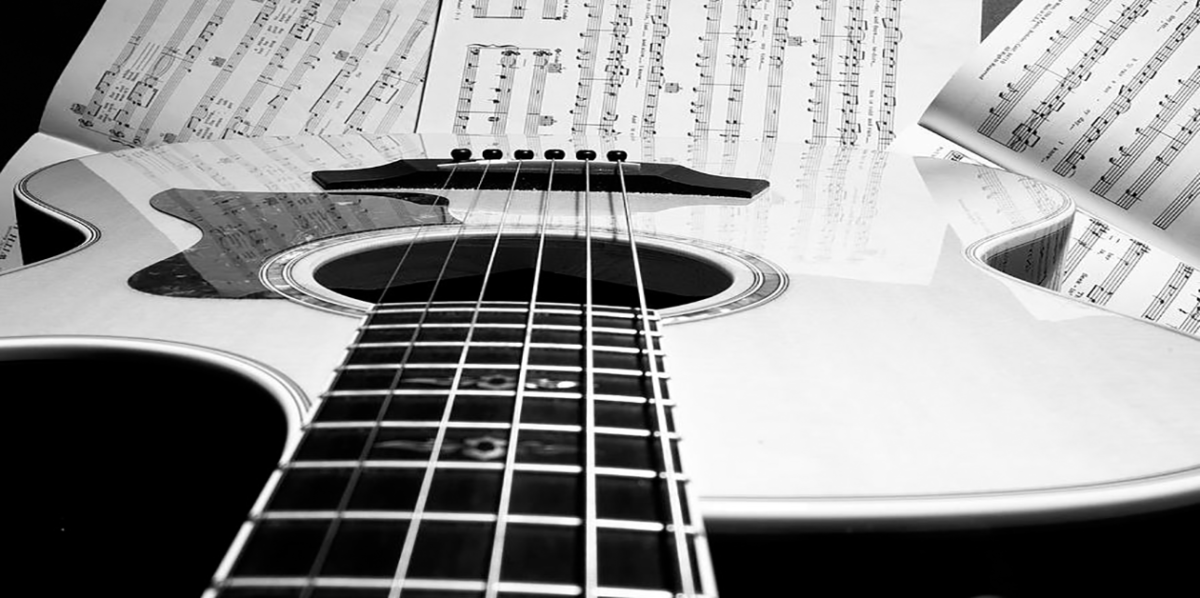
The second point to know is the horizontal lines. The horizontal lines represent the frets on your guitar with the thickest top line representing the guitar nut. The "nut" is the white cradle that holds the strings in place at the head of the fretboard. It is usually made of plastic or bone for greater sustain.

In the above photo, you can see how the frets match up to the lines in the blank chord chart. You also know from step one that the vertical lines represent the six strings, so the above photo shows you exactly how to locate the position on the fretboard using a chord chart. It's just like Battleship 🙂
3. Black Circles
The third point is the black circles. Sometimes they are numbered and sometimes they aren’t. The black circles / barres show you where and how to place your fingers on the guitar fretboard.

The first dot is on the first fret on the second (C) string. The second dot is on the second fret on the fourth (C) string. The third dot is on the third fret on the fifth (G) string.
The above diagram is telling us we need to use three fingers to play this chord. To know which fingers to use, we can look at the numbers as depicted in the next step.
4. Finger Positions
The fourth point to know is the numbers depicting the finger positions. The numbers are on the black circles or beneath the chord chart. This is the recommended positions of the fingers to play the chord.

The Numbers Are Only a Suggestion. There will be times when you see a chord diagram using different numbers on a chord you already know. It often depends on what chord follows and at what speed you need to make the change.
5. Os and Xs
Now we have the right fingers on the right frets. The fifth point to know is which strings to play. The ‘O’ and ‘X’ you see above each vertical line tells us whether we should play a string or not. If a string doesn’t have an ‘O’ or an ‘X’ above the string, check if there is a dot on the string. A dot on the string means you need to play the string.
If there is an ‘O’ above a string, it means to play that string as part of the chord. If there is an ‘X’ above a string, it means not to play that string.

Some chord diagrams will have you strum all strings and some may only use five or four strings. Always look at how many strings to strum or else your chords may sound wrong.
6 Reading Barre Chord Diagrams
So far we’ve only looked at open chord examples (that use the lower three frets). With the One Finger Method you will often play a chord higher up the neck, some version of a barre chord.
Barre chords use the same diagrams. You need to look out for two things to know where to play this barre chord:

In the above chord chart, you can see that there are two new things compared to the earlier chord charts.
First, you will notice that there is a thick black line covering the entire neck across all six strings. Some chord diagrams use a thick line to tell you to ‘bar’ your first finger across all of the strings.
The thick black line means – flatten your finger across all of the strings.
The second difference with a barre chord chart is the number on the side of the diagram. This number tells us what fret the chord diagram starts at. Unlike open chord diagrams, the top line of the chord chart doesn’t mean the guitar nut.
7 One Finger Method Annotation
In the One Finger Method annotations, all I write down is this number, because that's all that is needed to know where to put your finger. I place this number synchronized along with the lyrics so you know when to play it. In this way, we have no real need to use tablature, chord charts, or musical notation. The lyrics provide context and timing for the numbered annotations (barre chords).
The One Finger Method is a three part system. For all its simplicity, one can learn a great many aspects of music with it.
- You are going to learn to play
- You are going to learn to play by ear
- You can learn to sing with the synchronized lyrics
With these 3 things in mind, know that the annotation system is not perfect. You need to make up the difference with your ears. Traditionally musical notation is 100% visual. The One Finger Method is not like this, it is 50 / 50 visual / auditory. When you see the numbered annotation it's not always a barre chord. It might be the first three strings, the last three strings, some other combination or arpeggio (broken chord) at that position. How you figure it out, is you can treat each annotation as a power chord (bottom 3 heavy gauge strings), or a full 6 string barre chord and as you become familiar with the sequence and progression of the song, you can work out the subtleties with your ear as you go along.